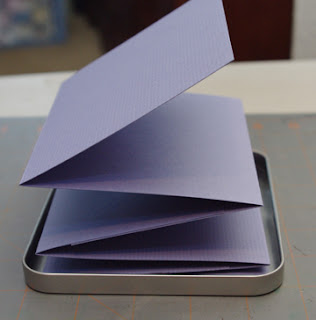
In case you're interested, this is a small 4 generation accordion photo album. My dad helped me with the family group sheet and collecting all the photos. Fortunately I was born into a family that likes to take photographs and we've been doing it for generations. Probably one of the most enjoyable parts of this project was going through old (as in 1800s) family photos - it's interesting to see how prevalent some genetic traits are.
Here is a little tutorial if you'd like to make you're own CD Photo Album. I've also created an instruction sheet with supplies and dimensions. You can download it here - CD Photo Accordion Album Instructions.
Here are the general supplies:
The instruction sheet will give you the dimensions of everything. First, cut three strips of cardstock each at least 5 inches wide. I'd recommend using 12x12 cardstock so you can get at least 2 strips out of it; however, if you want to you can use 8 1/2"x11", but you'll only get 1 strip out of each sheet. Fold the strips at 4.25" (again check out the instruction sheet for details).
Here the strips are folded, and you can see where you'll need to glue them together. You'll need to attach (glue sticks work great) square "A" to square "A" and square "B" to square "B" making sure that each square is 4.25" tall.
Then you just add your photos and decorate with paper. I try to stay away from any embellishments that will add bulk (i.e. - pop dots, brads, flowers, etc) because the album is going to have to fit into a CD tin and with too many puffy embellishments the tin will look like an over stuffed suitcase. Make sure that you do NOT decorate the top and bottom squares. The bottom square will be adhered to the inside of the tin and the top square will have your "cover page". Also make sure you check regularly to ensure that your photos are all going in in the right direction.
To adhere the album to the tin you will have to use glue dots -- these are the only things "powerful" enough to hold the paper to the metal.
Pretty simple and straight forward. Here are a few photos of the finished album.
You should make a tin of your own. They're a very simple way to share family history and they make great gifts.


0 comments:
Post a Comment